Friday, October 31, 2014

More Christmas Gifts in the works!

As I mentioned in my last post, I'm also getting things ready for the December meeting of our widow's group.  We'll be having a Christmas lunch here at my house and I've been busy make a few small gifts for each of the ladies.  There could be 20 or more ladies here that day!

I found these frames at Michael's in the dollar bin...so I bought about 25 of them.  I printed out several different verses from the Bible, then stamped a floral image (The stamp is from a very old set I had from SU!) Here's a peek at the gifts:


After I got all the verses printed and stamped, with the help of a couple of ladies from our group, we got them all put into the frames.  I also made boxes for each of the frames and decorated each of the boxes.  Here's just a small sample of the 20+ boxes I decorated:


I did a little heat embossing, a little coloring with Copics, and just decorated a few of them with sparkly paper and die cuts.  I just can't make up my mind which one of these I like best!  SO....which one of these boxes is your favorite? 

Thanks so much for taking the time to stop by for a visit!  Hope you'll come back soon!  Your comments are greatly appreciated! Until next time...

Photobucket


Pin It!

Thursday, October 30, 2014

Busy, Busy, Busy.....

I've been very busy the last few weeks. This post will be VERY photo heavy! Working hard to get some Christmas presents completed.  My DIL asked me to tat some bracelets for her to give to co-workers, my youngest granddaughter has a birthday coming up in November, and I'm getting ready for a luncheon I'll be having for the widow's group from my church.

I've had a difficult time getting involved in things during the past year and a half.  I finally started attending the widow's group that meets at my church once a month and have become friends with a couple of the ladies.

It's nice to have someone to call when you just need to get out of the house for a while!So...first I'll show you a few of the bracelets I've made for my DIL. (If you click on the photos you can see them a little bigger)


I also made the boxes for the bracelets and decorated each of them.  The boxes fold like a pizza box, but they're not as heavy duty.  It takes one sheet of  letter size card stock for each box. Here's a sample of some of the boxes:


I ended up making 10 bracelets and 10 boxes to put them in.  It was a lot of work, but the end result was kinda cool!

I've also had requests for tatted crosses....so I've made about 6 of these:

The crosses are about 3" x 4.5" and really turned out nice. The pattern is by Grace Tan and can be found here. I learned how to tat using shuttles, but these were done with needle tatting. I think for me, the needle tatting is much faster.

I have so many crafts I enjoy, sometimes I just get snowed under with it all! LOL!


I know this was a photo heavy post....but thanks for taking the time to visit!

Thanks so much for stopping by! As always, your visits and your comments are greatly appreciated!  Until next time....

Photobucket


Pin It!

Wednesday, October 1, 2014

Where has the time GONE!!!

I can't believe I haven't posted since the end of July!! Life has been hectic and crazy around here it seems. I'm industriously working on getting some Christmas presents made and I guess time has just passed me by!


WARNING!!! THIS POST WILL BE VERY PHOTO HEAVY!

I mentioned back in July that I have picked my tatting up again.  Haven't tatted in years, but I discovered needle tatting...and it is SO much easier to do than shuttle tatting (at least it is for me!) I have also made a few cards, but put some of them in the mail before photographing them.  I did make a card today to share with you.  My youngest grandson will be turning 3 soon, so I made a card specially for him.


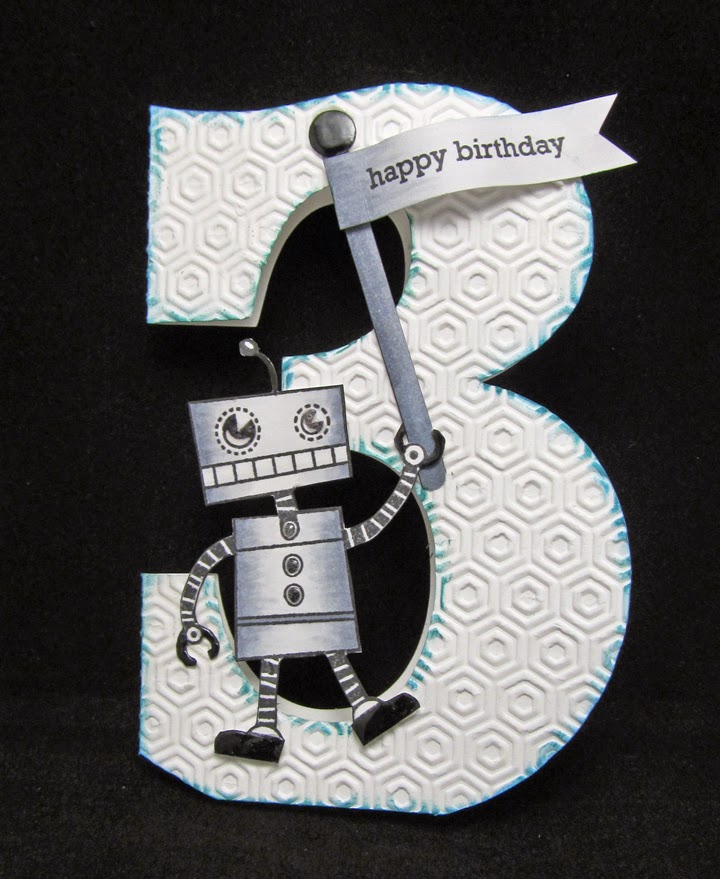
I cut this card out with my Cameo and flattened off the bottom of the card so that it would stand up.  I ran the front side of the card through with a Spellbinder embossing folder, then inked the edges with distress ink. The little robot is a stamp from My Mind's Eye.  I colored him with Copics, then added a touch of glossy accents to his shoes and "claws".  I cut him out and used foam tape to adhere him to the card.  The banner is one that I just cut out after I stamped the sentiment.  I added it to a little pole for the robot to hold and used some pop dots to hold it on the card.  I think it turned out really cute...not to sure he'll care at all, but I do like it! LOL!

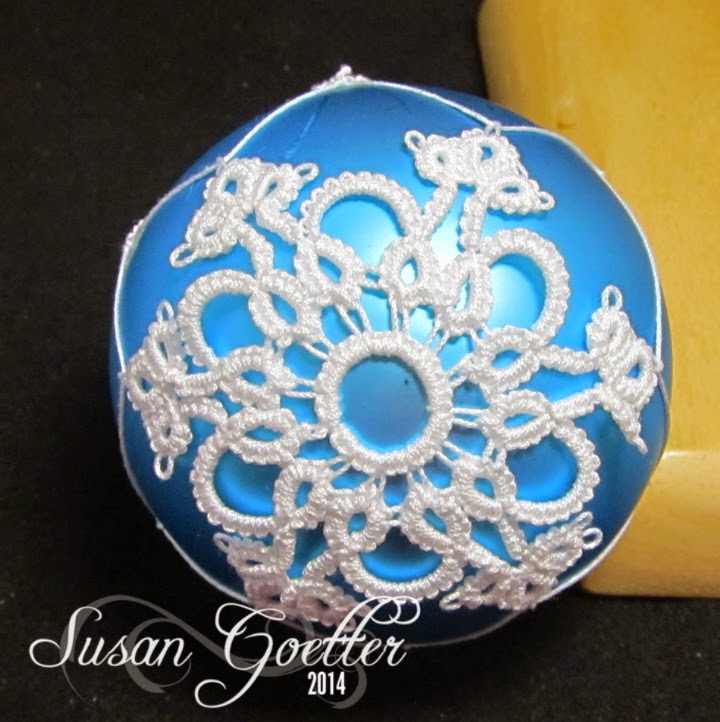
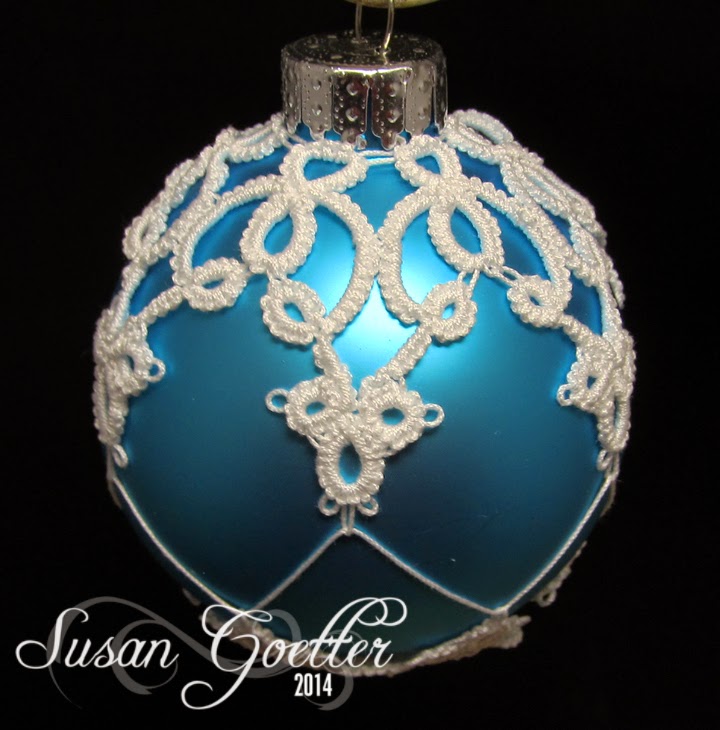
Now...the following photos are just a few of the 24 ornaments that I have completed thus far.  Some of the designs are patterns I found online and quite a few of them are patterns that I just made up as I went along.  I love how they all turned out.

This first ornament is tatted with one of my own designs (since I didn't write it down, I probably can't duplicate it!) The ornaments are about 3 inches in diameter.  This is two shots of the same ornament so that you could see the top and bottom of the ornament.


This next one is also a pattern that I designed.  This ornament and the one above are rich purple even though it's difficult to tell from the photos.


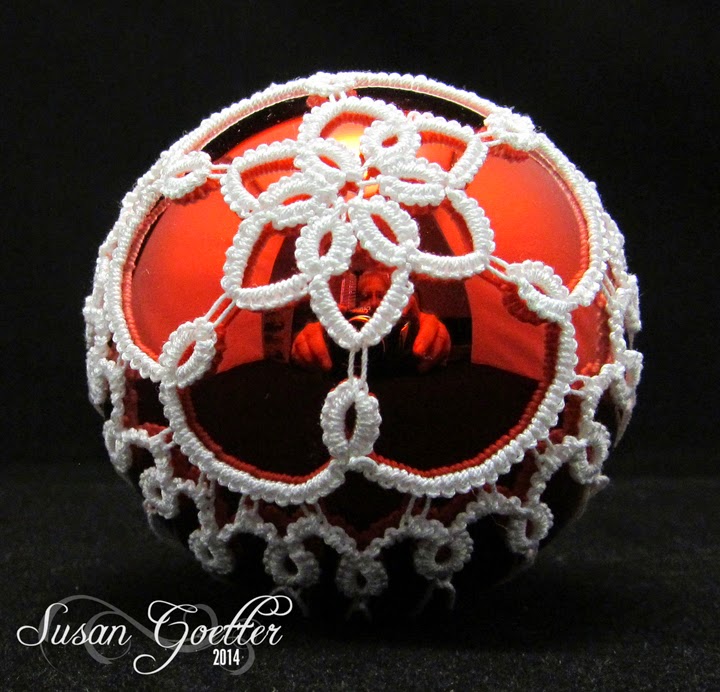
The next ornament (top and bottom both pictured) were tatted using a pattern from Robin Perfetti for the top of the ornament.  It tats up very quickly and fits perfectly over the top of the ornament.  For the bottom of the ornament, I used a pattern found here which is a pattern by Orsi.


This next ornament is another of my own designs...I really should have written the directions down for these!

 This next ornament is also one of my designs...and I think perhaps it might be my favorite!


The last one I have to share with you was made using the same two designs I used in the blue ornaments above except that this time I used blue thread and put the designs on silver ornaments


As you can see, I've really been quite busy...so forgive me for not posting more often.  I'll REALLY try to post more often (and get my cards photographed before I mail them out!)

Thanks so much for stopping by! Your comments and your visits are always appreciated!! Until next time...
Photobucket


Pin It!

LinkWithin

Related Posts with Thumbnails